> ## Documentation Index
> Fetch the complete documentation index at: https://docs.rad.security/llms.txt
> Use this file to discover all available pages before exploring further.
# Single Sign-On (SSO) with Microsoft using OIDC
> Configure enterprise SSO with Microsoft Azure Active Directory using OpenID Connect
To use Microsoft for SSO there are two possible options to follow. One is Social Sign-In which works with any tenant and requires accepting RAD Security application in your Microsoft environment (described in separate document) or Enterprise SSO using your own application that has access only to your Active Directory tenant.
## Configuration
Navigate to Azure Portal to Entra ID service:
1. Make sure you are on the right tenant
2. Select Add → App registration
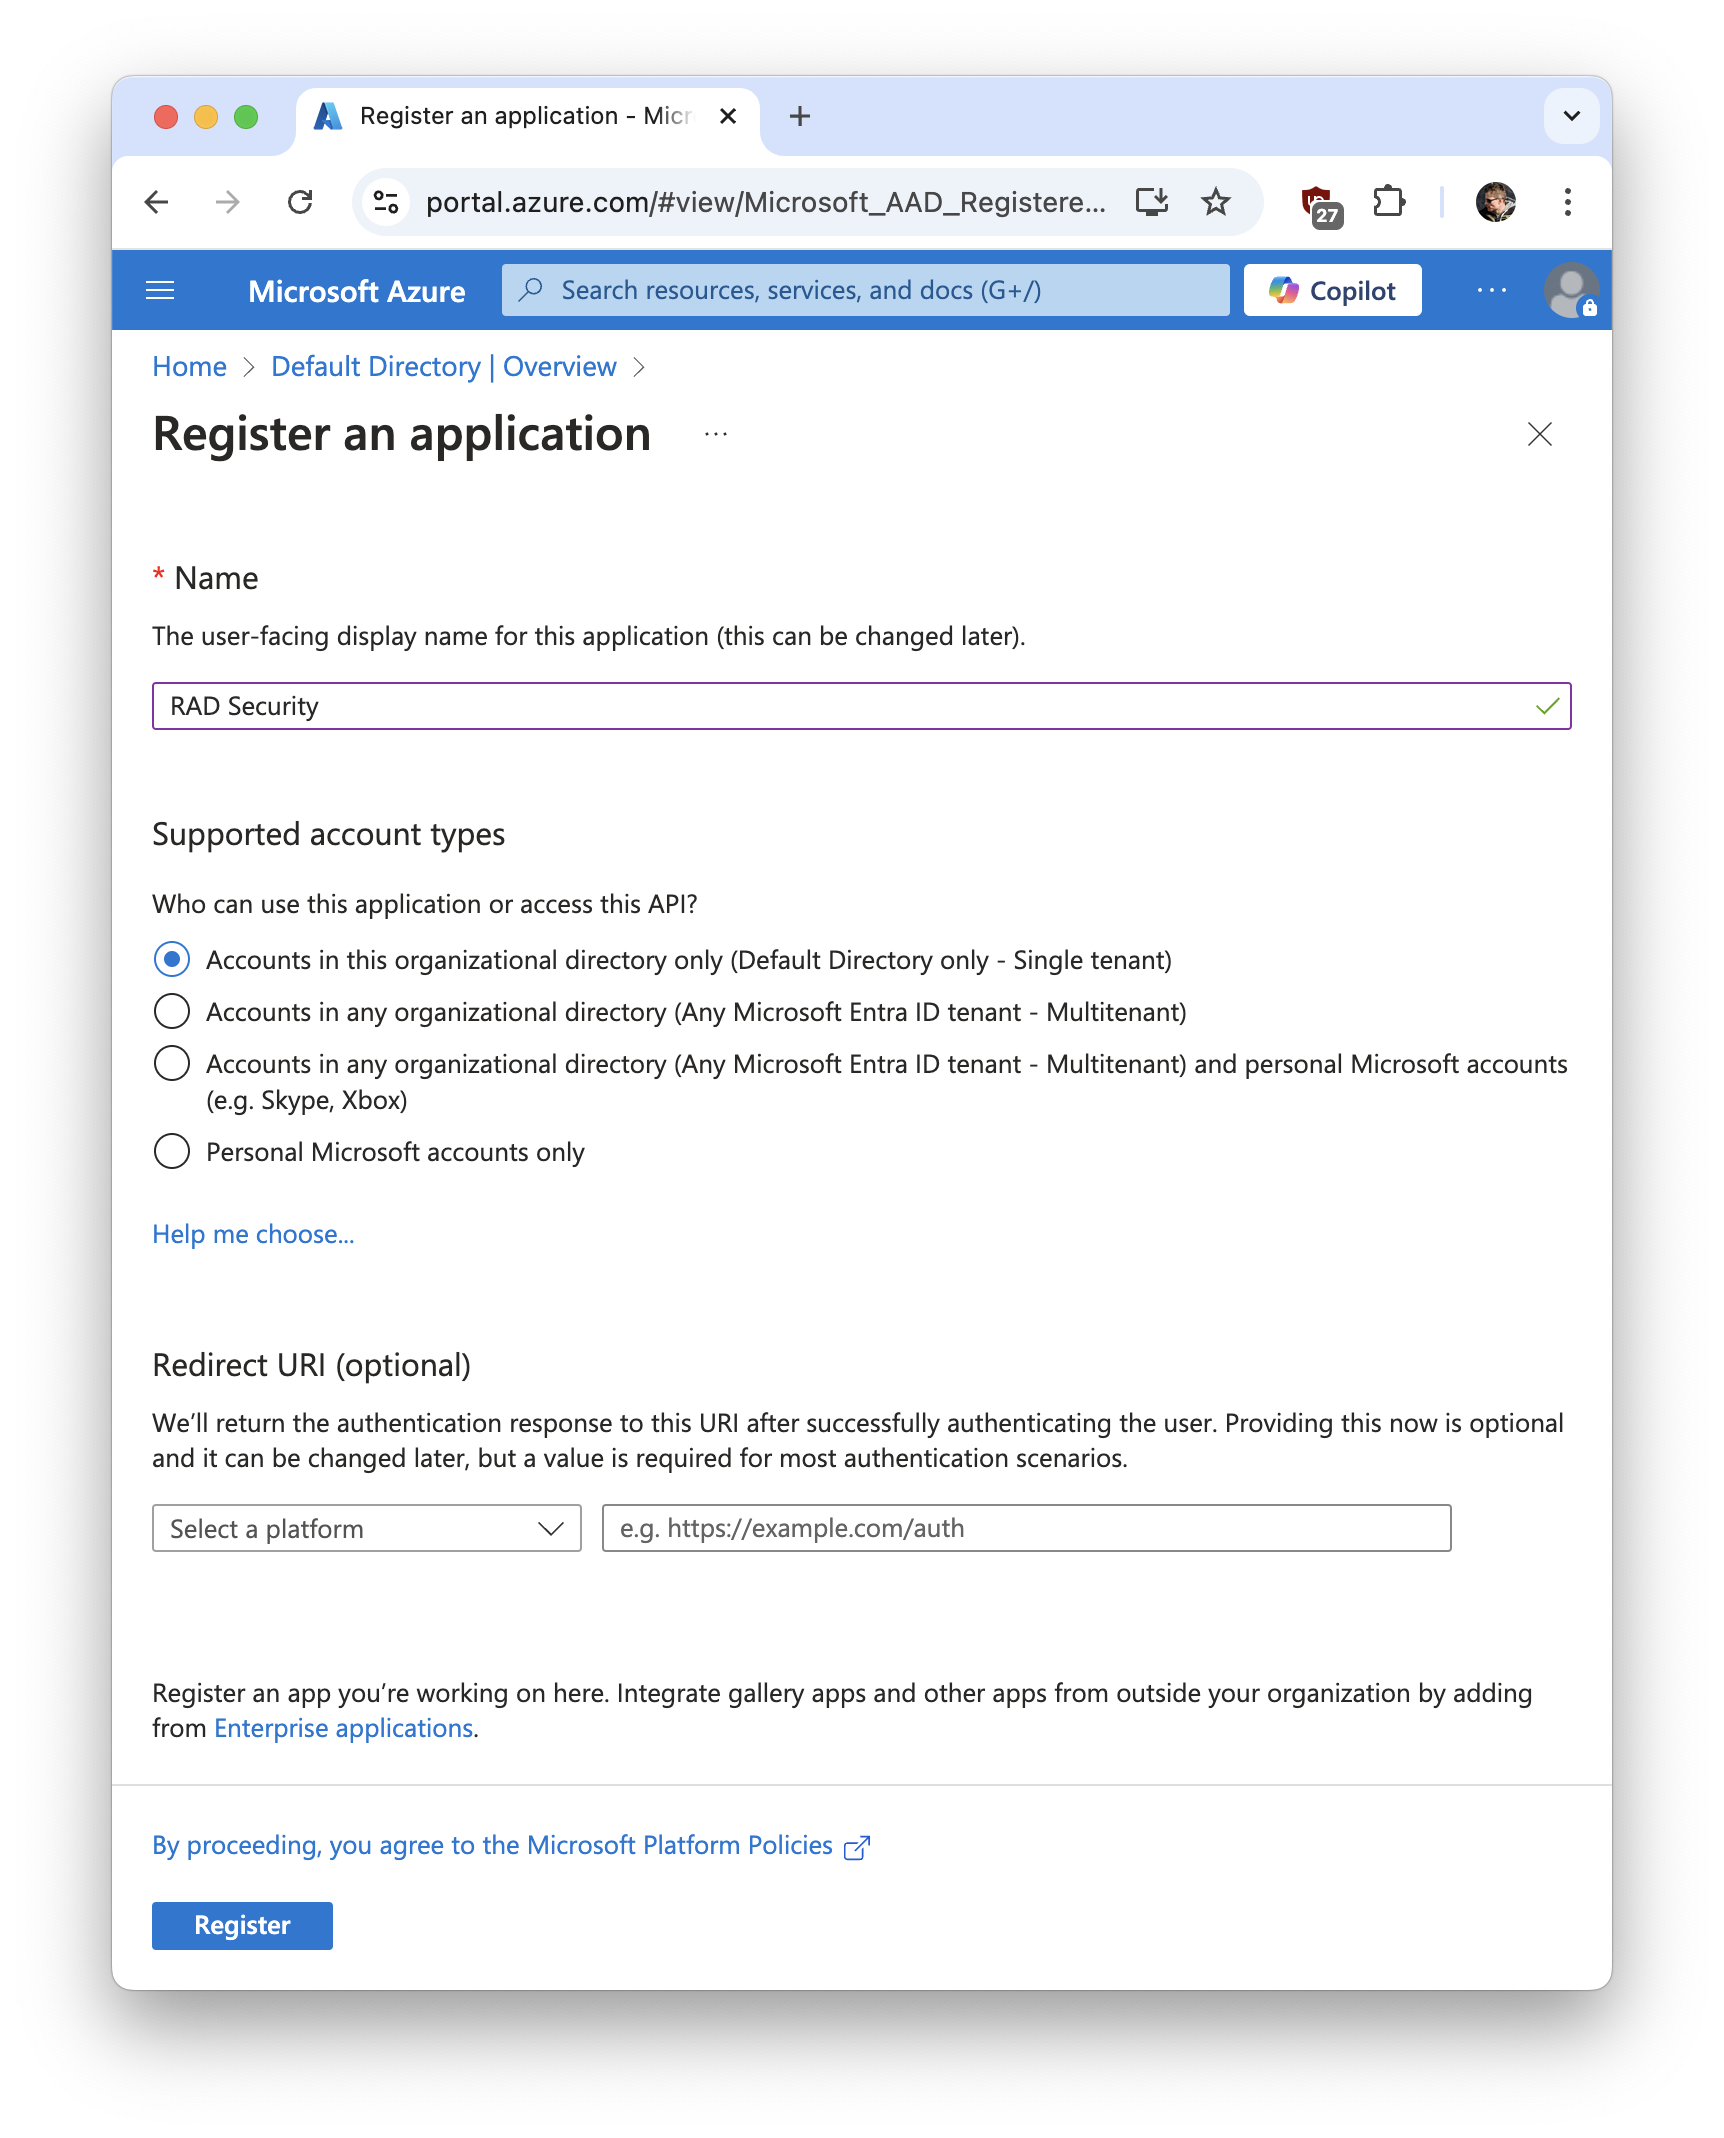
3. Fill in the form with the following values:
* **Name:** RAD Security (or choose a name that works for you best)
* **Supported account types:** Accounts in this organizational directory only (Default Directory only - Single tenant)
* **Redirect URI:** leave empty
 4. Share **Application (client) ID** with RAD Security
5. Share **Directory (tenant) ID** with RAD Security
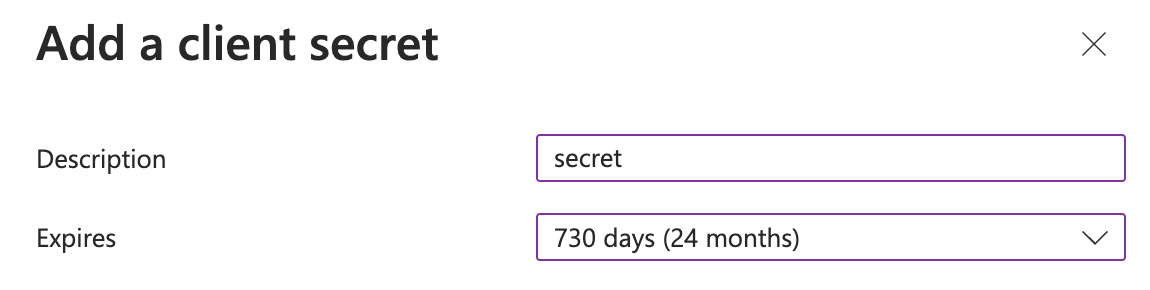
6. Click **Add a certificate or secret**
7. Click **New client secret**
8. Add description and set expiration (for example 24 months)
4. Share **Application (client) ID** with RAD Security
5. Share **Directory (tenant) ID** with RAD Security
6. Click **Add a certificate or secret**
7. Click **New client secret**
8. Add description and set expiration (for example 24 months)
 9. Share secret **Value** with RAD Security
10. Go to **Manage → Authentication**
11. Click **Add a platform**
12. Select **Web**
13. Enter Redirect URI in the following format:
```
https://app.rad.security/oidc/self-service/methods/oidc/callback/microsoft-{client-ID}
```
Replace `{client-ID}` with your **Application (client) ID**.
9. Share secret **Value** with RAD Security
10. Go to **Manage → Authentication**
11. Click **Add a platform**
12. Select **Web**
13. Enter Redirect URI in the following format:
```
https://app.rad.security/oidc/self-service/methods/oidc/callback/microsoft-{client-ID}
```
Replace `{client-ID}` with your **Application (client) ID**.
 14. Click **Configure**
15. Wait for RAD Security to configure SSO on our side and try linking your account
14. Click **Configure**
15. Wait for RAD Security to configure SSO on our side and try linking your account